


Yes, this story is about trail shoes. But wait a minute! Do you wear shoes? Do you know how many pairs of shoes just fill up our land fill sites, for no reason? Shoes are made of all sorts of materials but they contain a lot of plastic so unless you only wear leather, or you go barefoot… have a read and get excited about repairing your own shoes!
I came to Italy this year with one pair of trail shoes with serious holes. I’m running a 25k trail run on Sunday and I was dismayed to realized that I’d only brought holy shoes. I posted on my favourite group and wondered aloud if I could buy some similar shoes to my beloved Altra Superior 5. Someone replied that I could FIX MY SHOES. The Green Runners website has all sorts of info but I found a YouTube I liked and followed that. Also, for my UK readers, this.
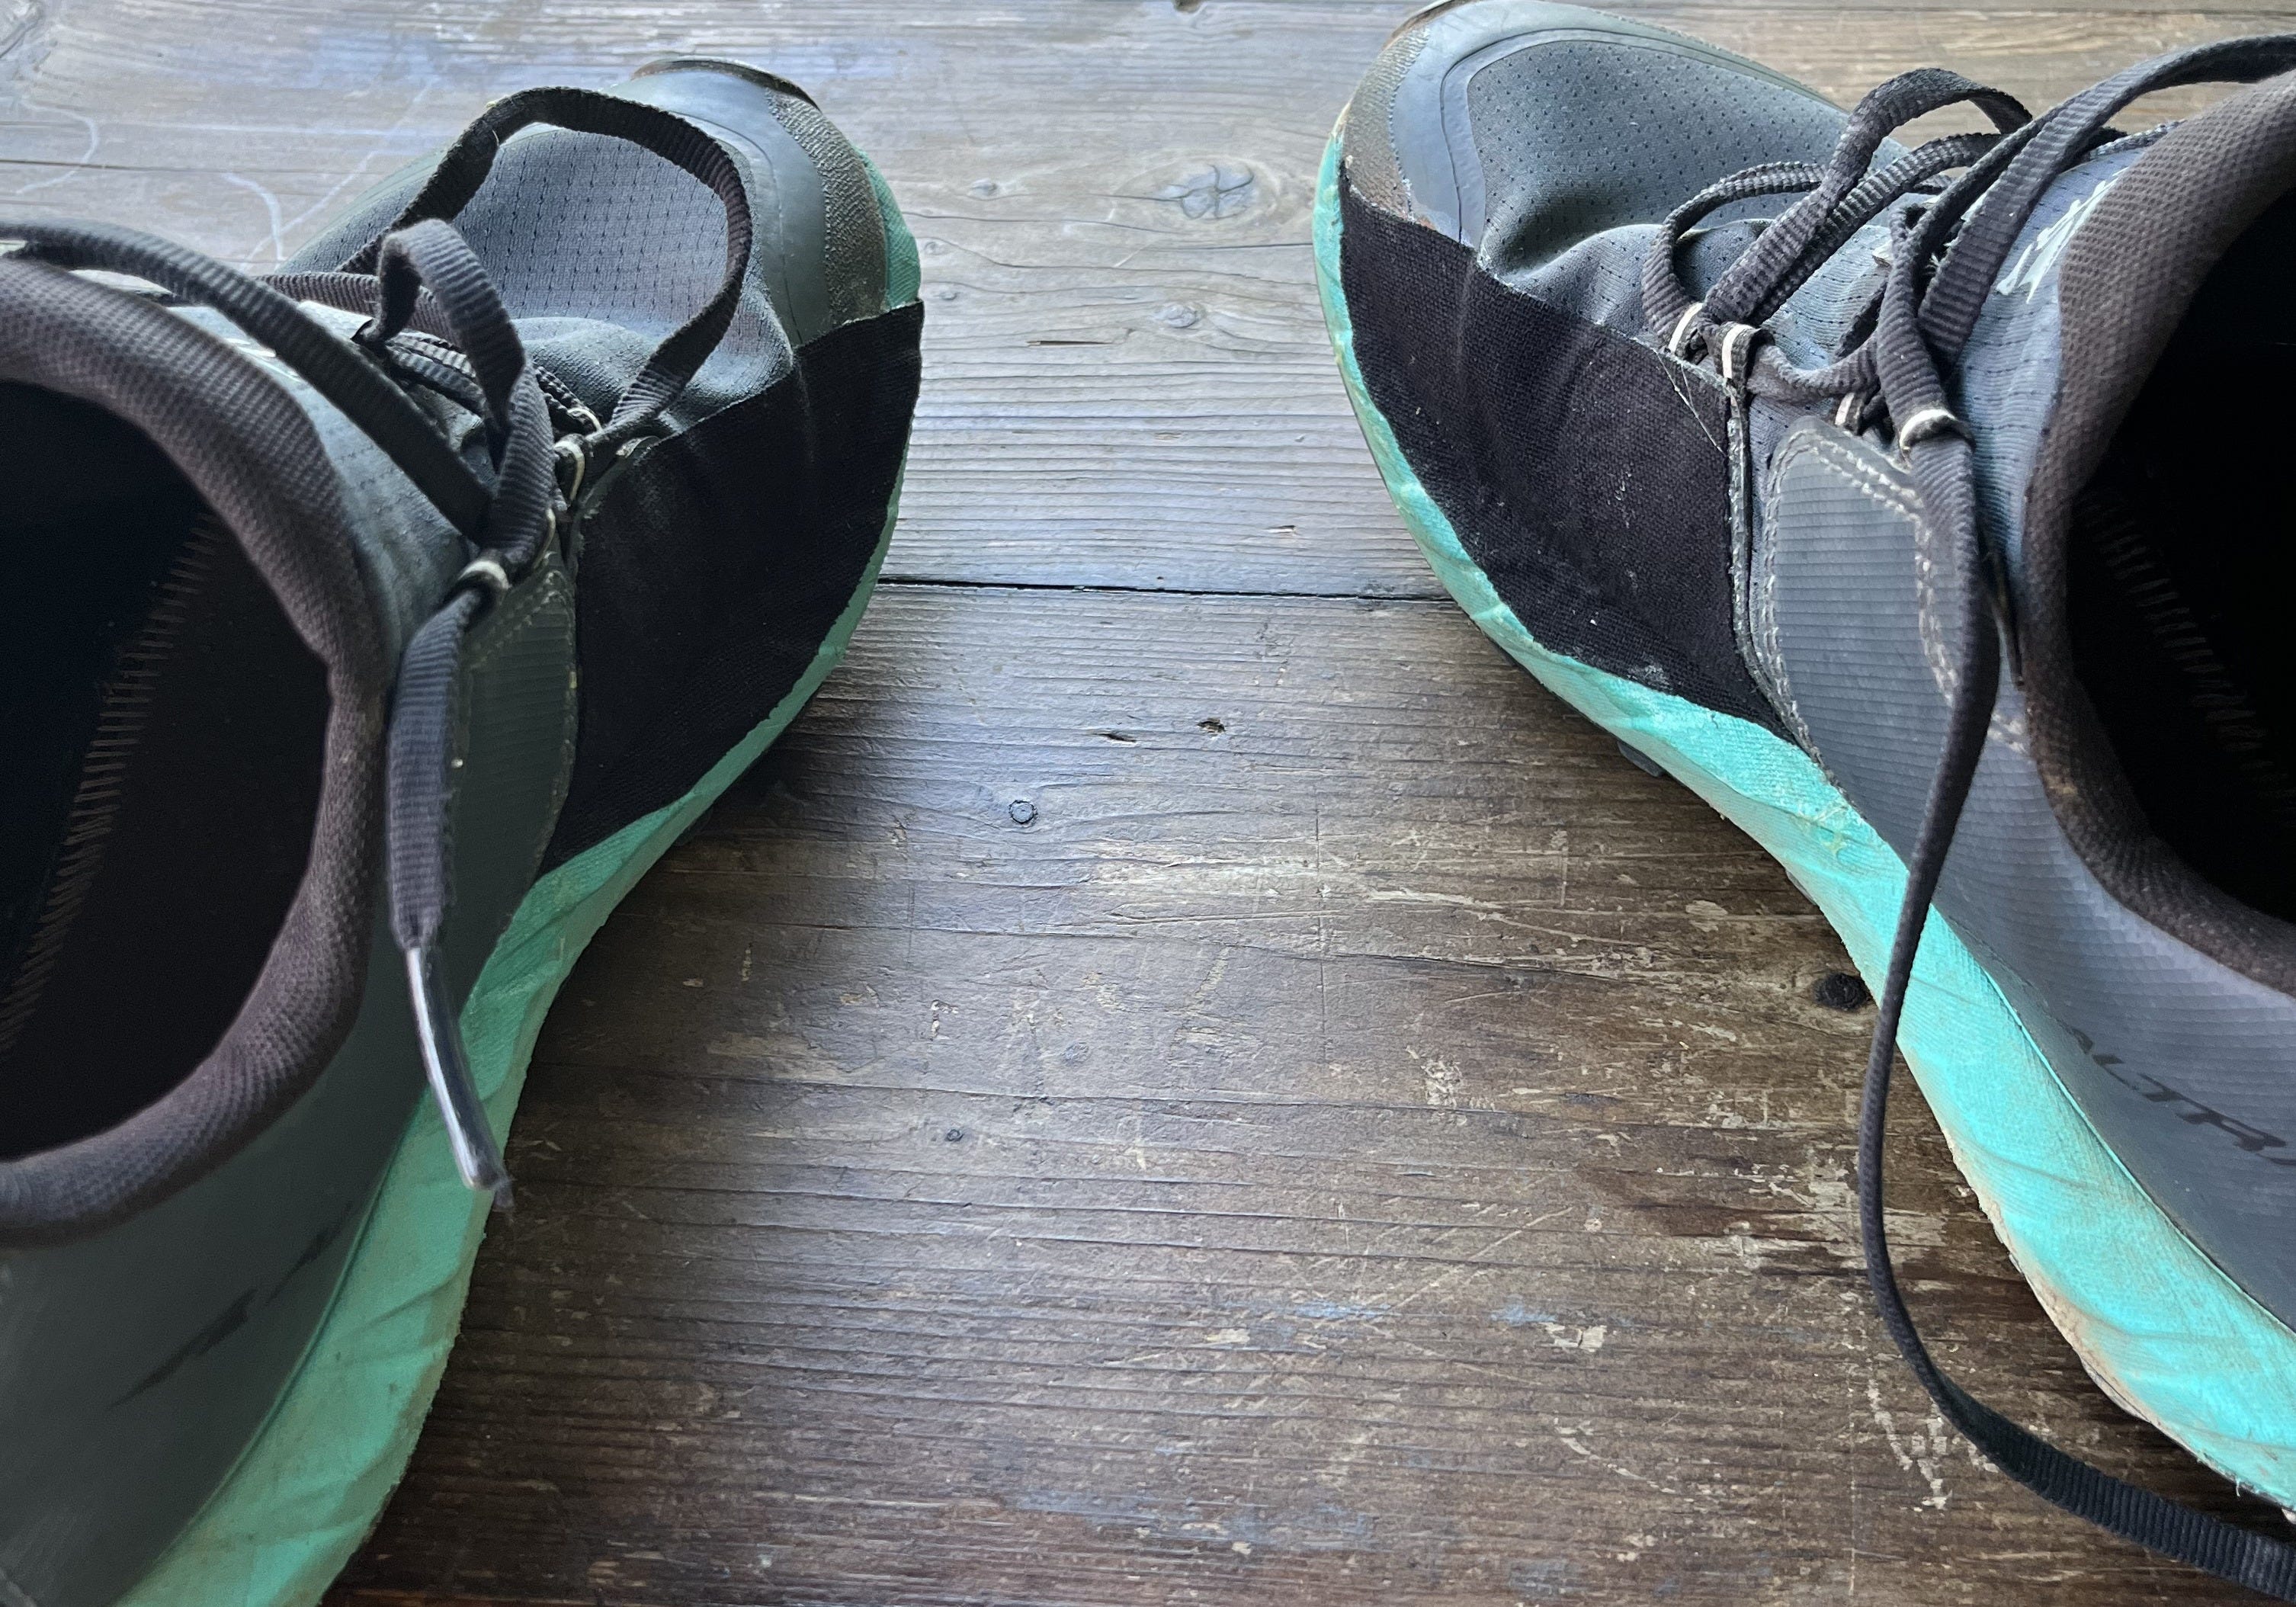
So, here you go:
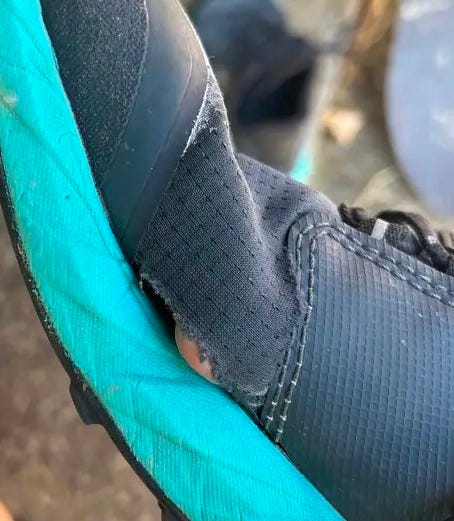
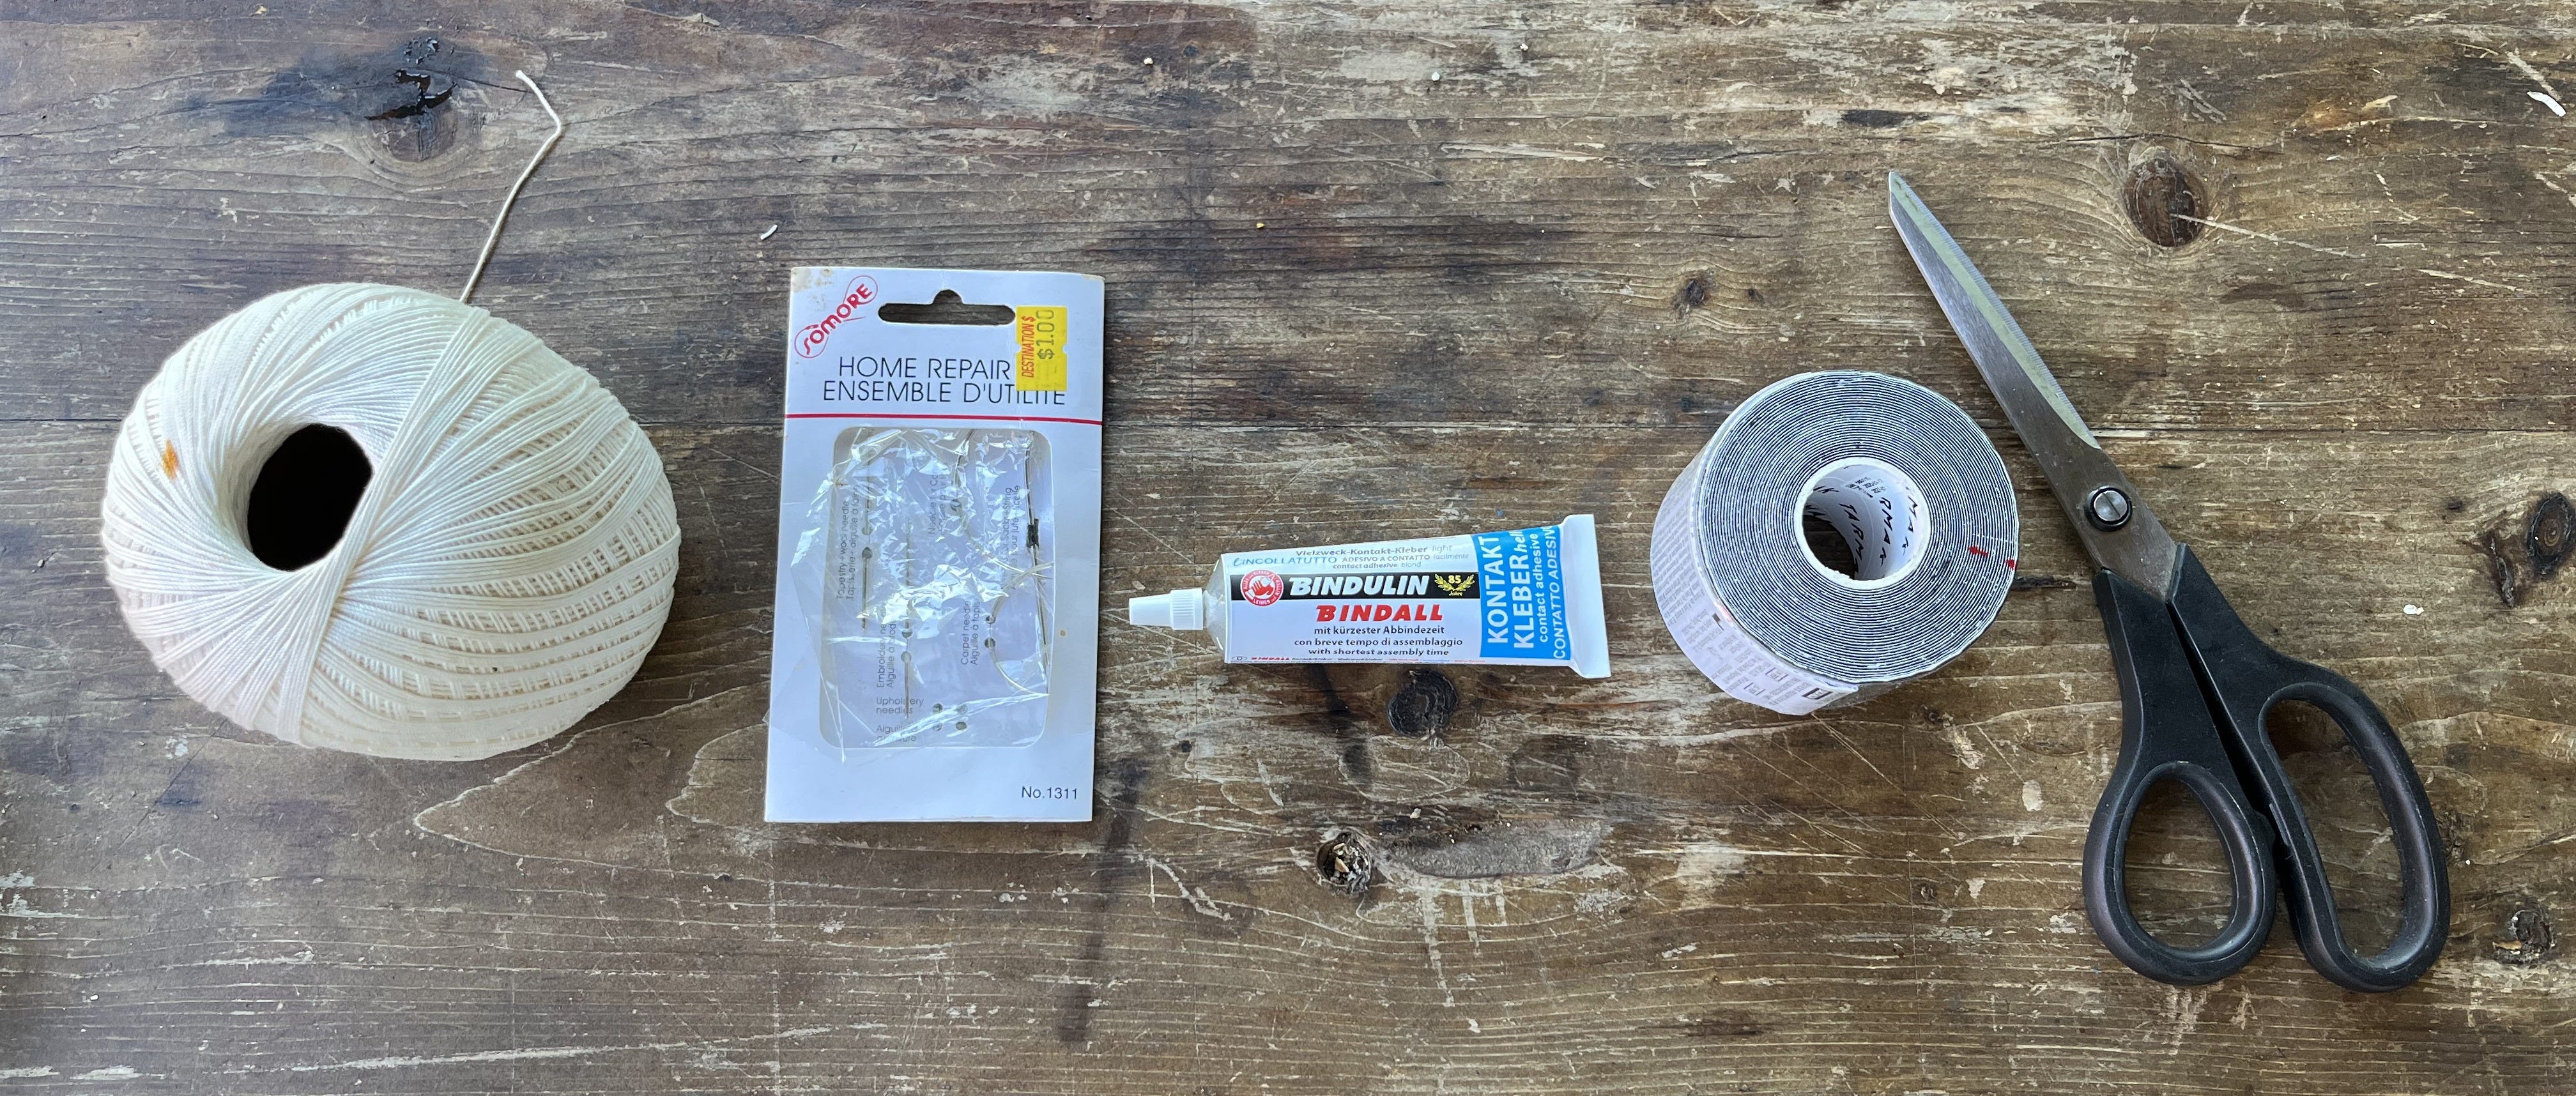
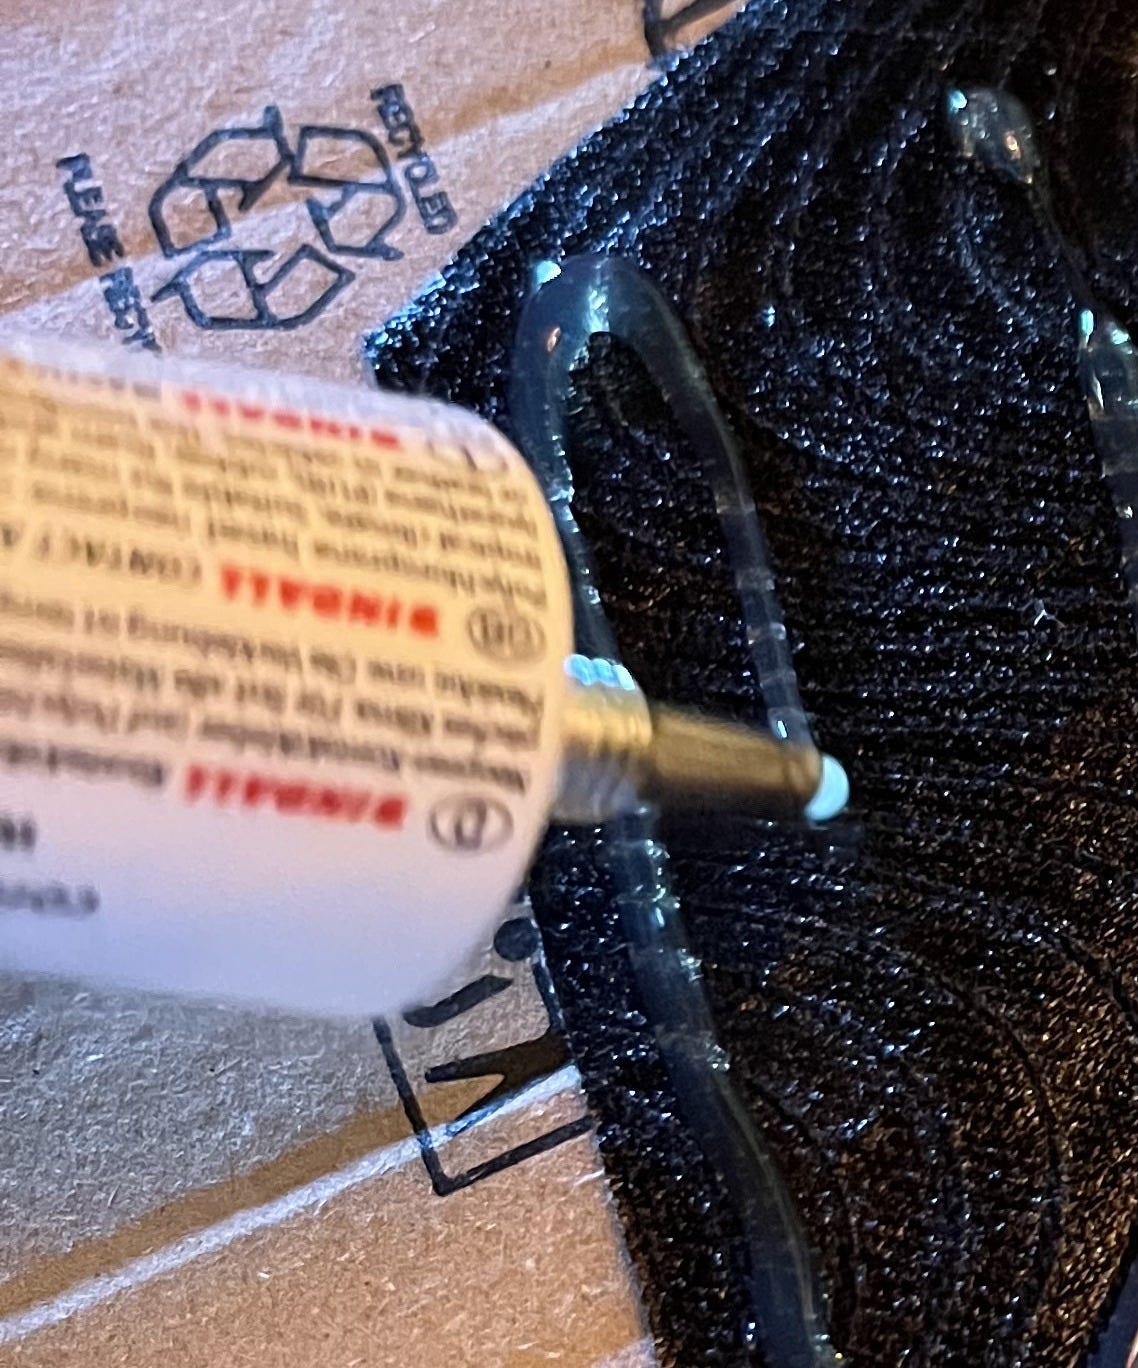
The most holy shoe was ready to let my whole foot slip out so I worked on this one first.Here’s my tool kit: butcher’s twine, a set of large repair needles, contact cement glue, K-tape, and a pair of scissors.
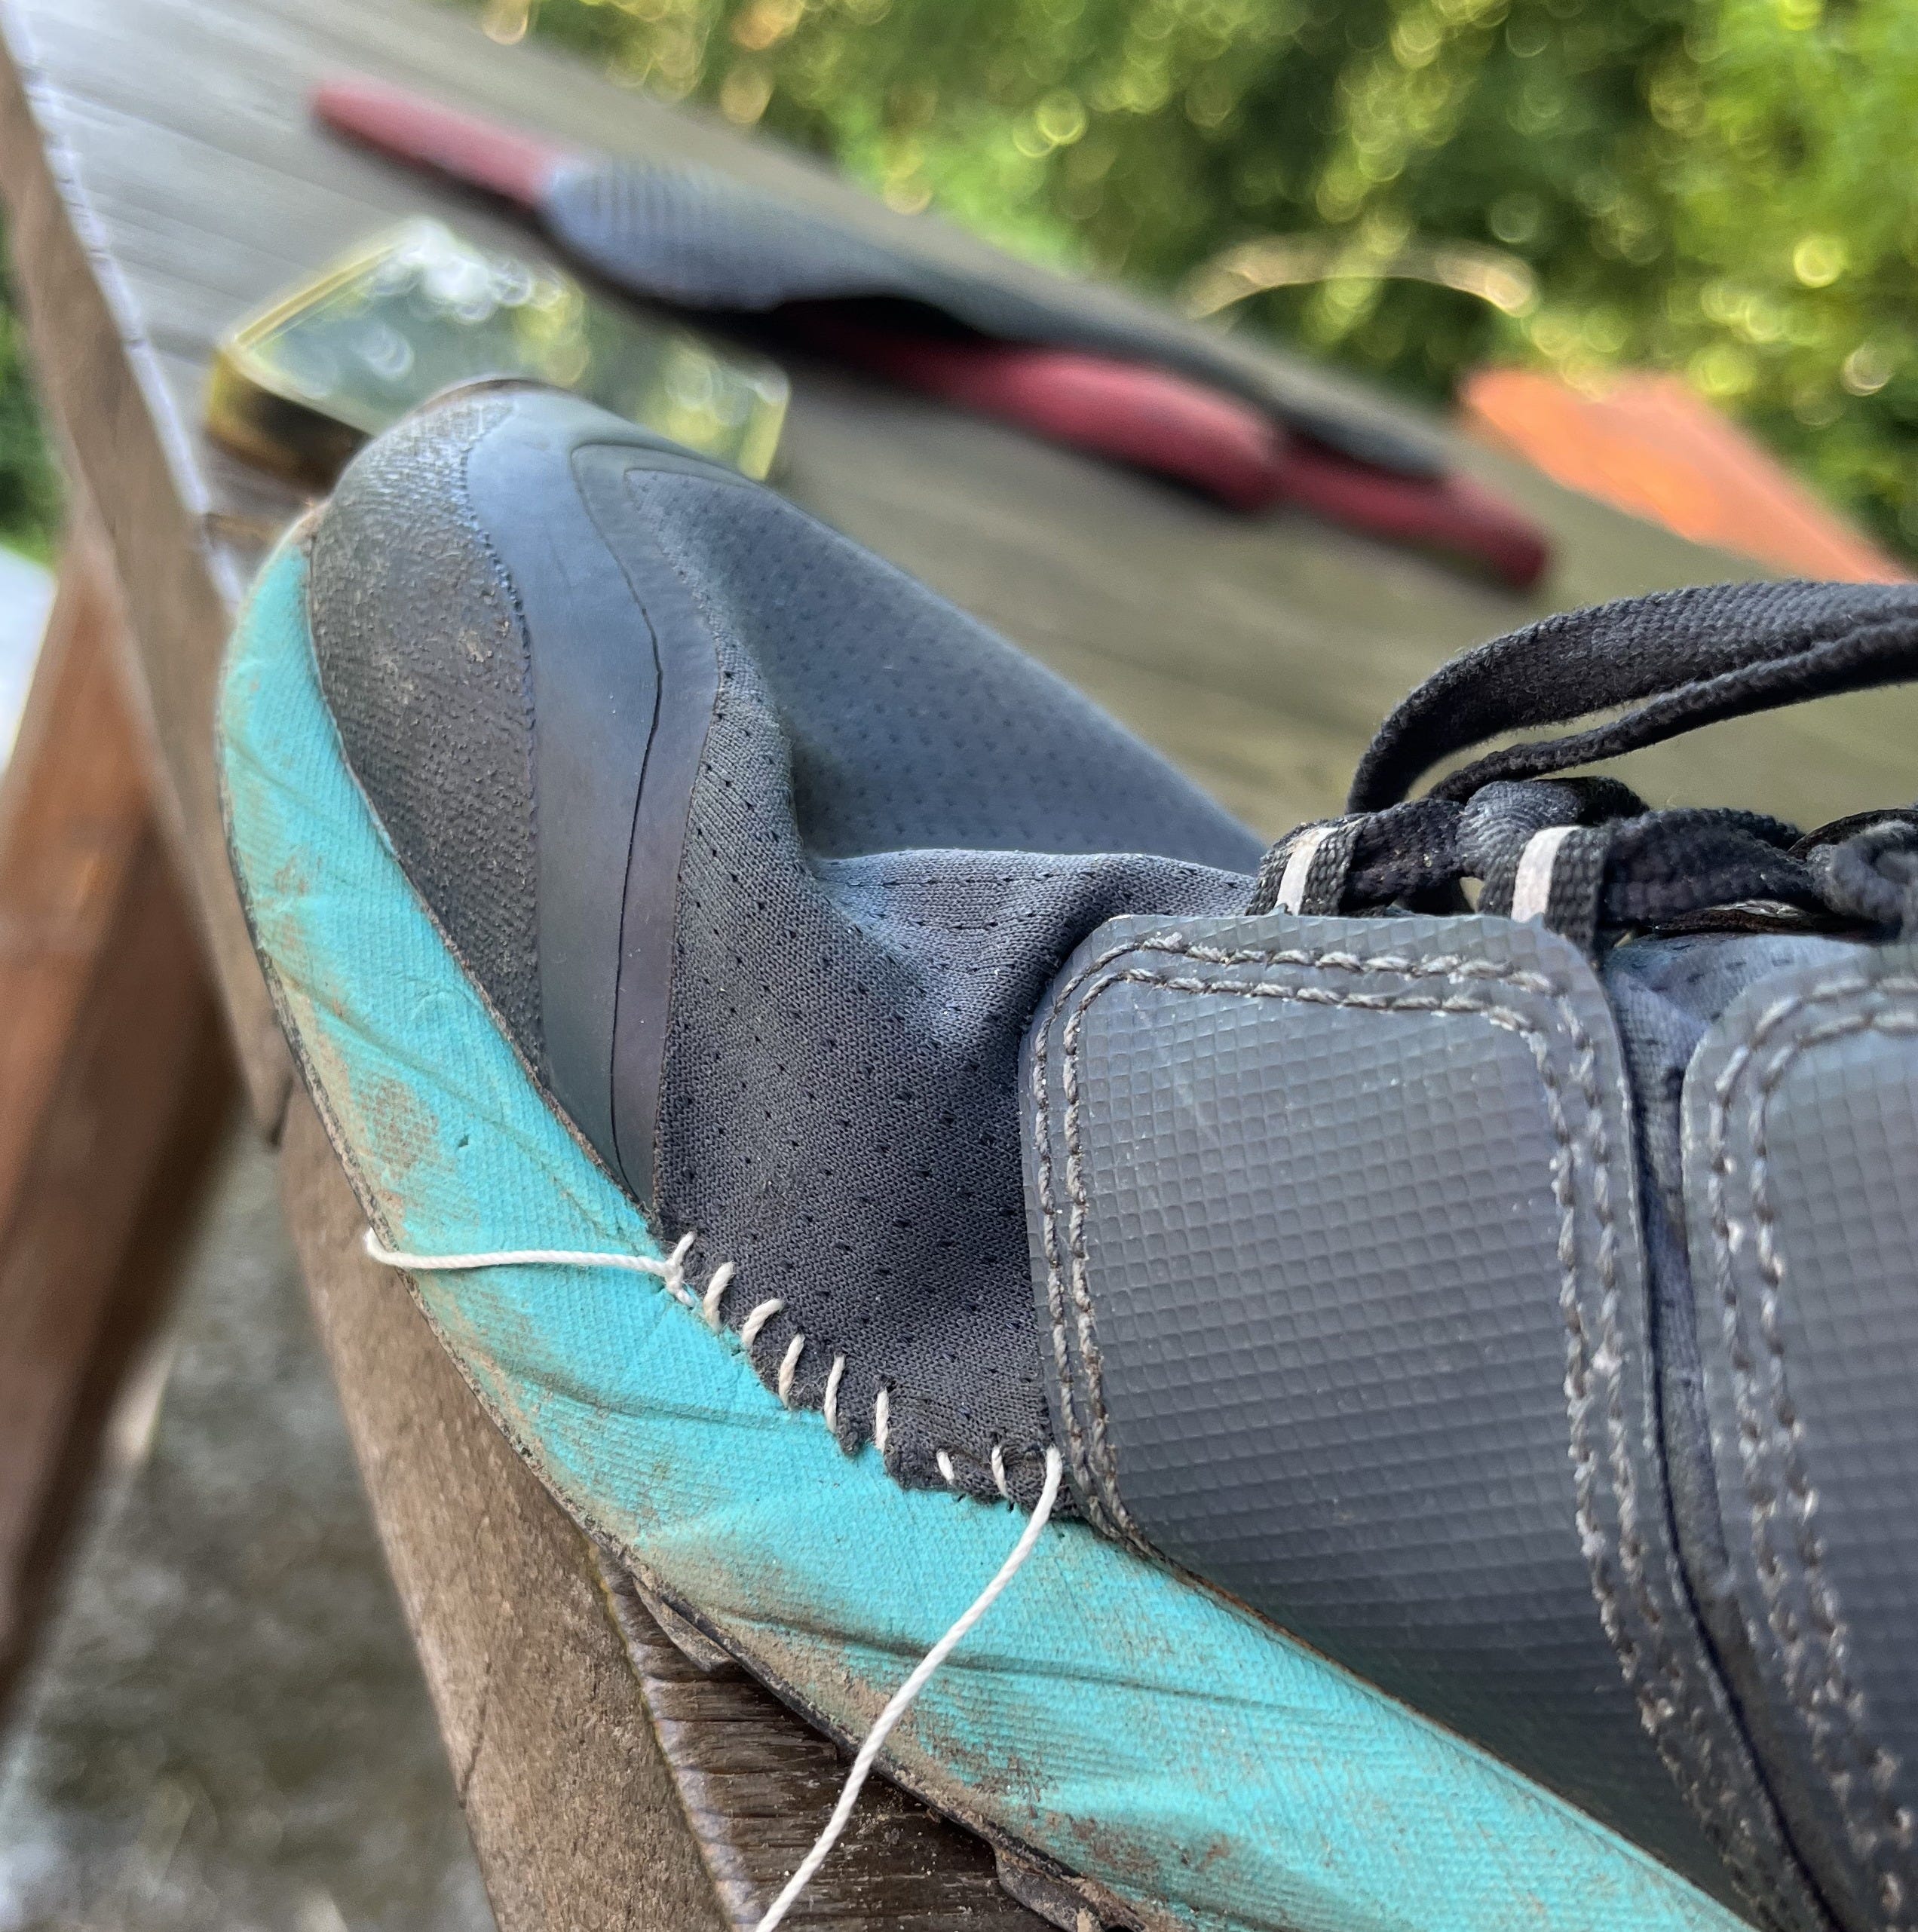
STEP 1
Repair the hole using the twine and a large needle. A cobbler’s awl is recommended but 1. I don’t know what that is and 2. I am in the middle of nowhere with limited resources. So I realized I had a packet of needles from the dollar store that I had handily brought with me one year, and I used the large embroidery needle. I was happy to be using some of the suturing techniques I learned when I studied midwifery As I no longer practice, it was a somewhat nostalgic moment.


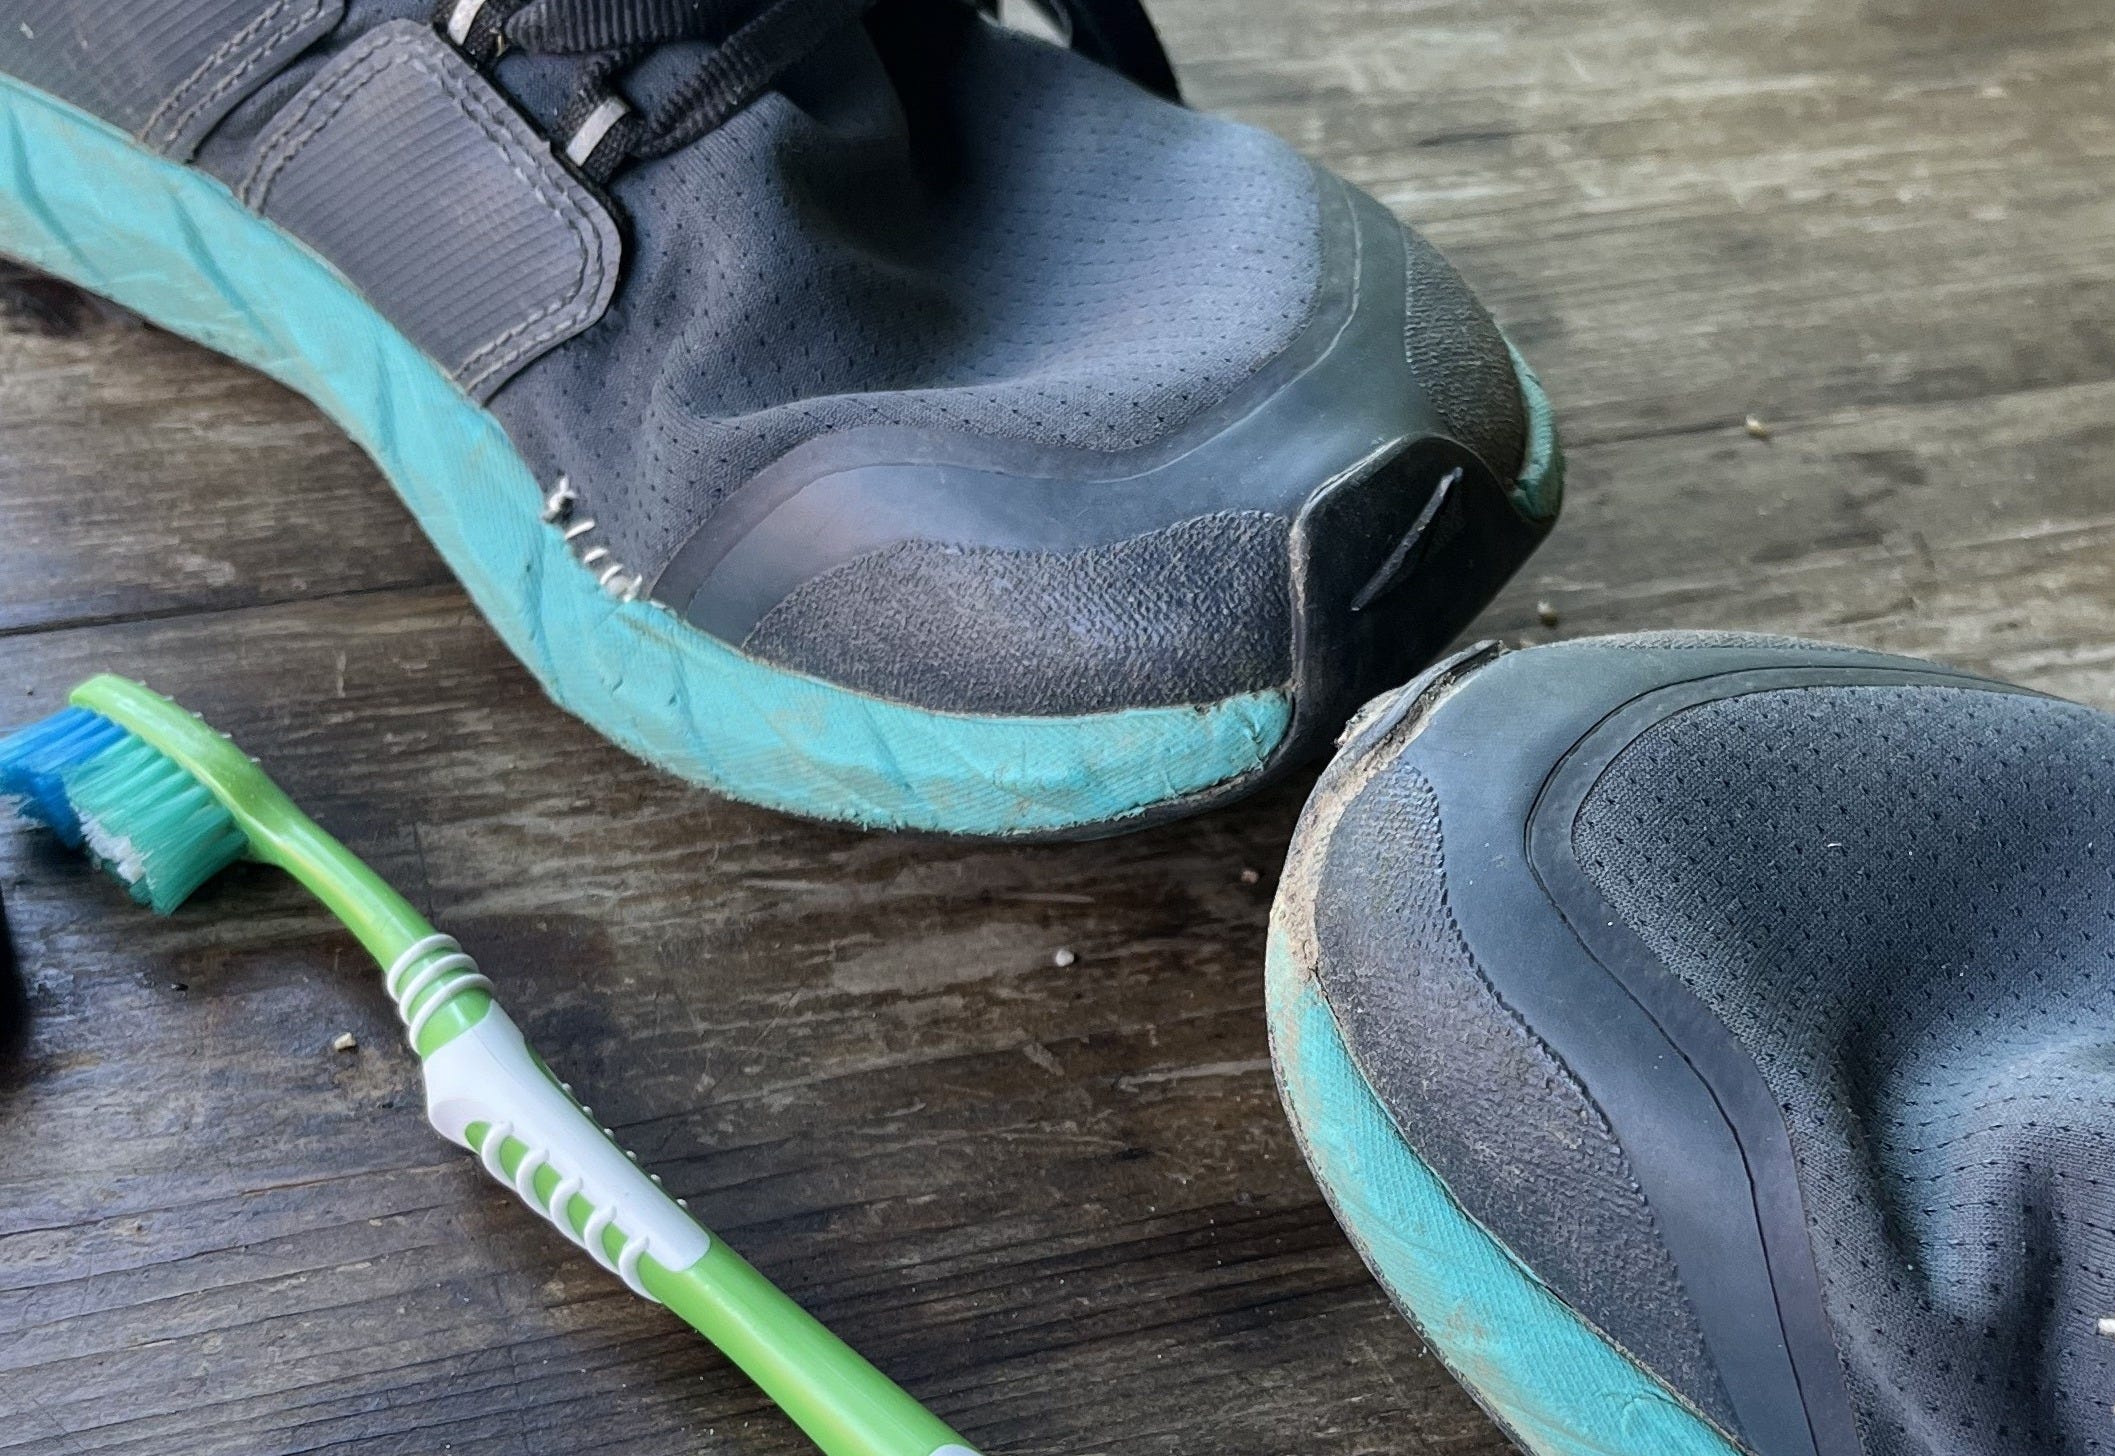
STEP TWO
Clean the shoes. I should have done it before sewing I guess but it is crucial to have the area you will be gluing as clean and dry as possible. I used a toothbrush but apparently there are fancy brushes out there. At this time, you will prepare your shoes by stuffing them. We used old rags covered with paper: in case glue got through, I didn’t want it to stick to cloth, I figured paper we could just rip out.
STEP THREE
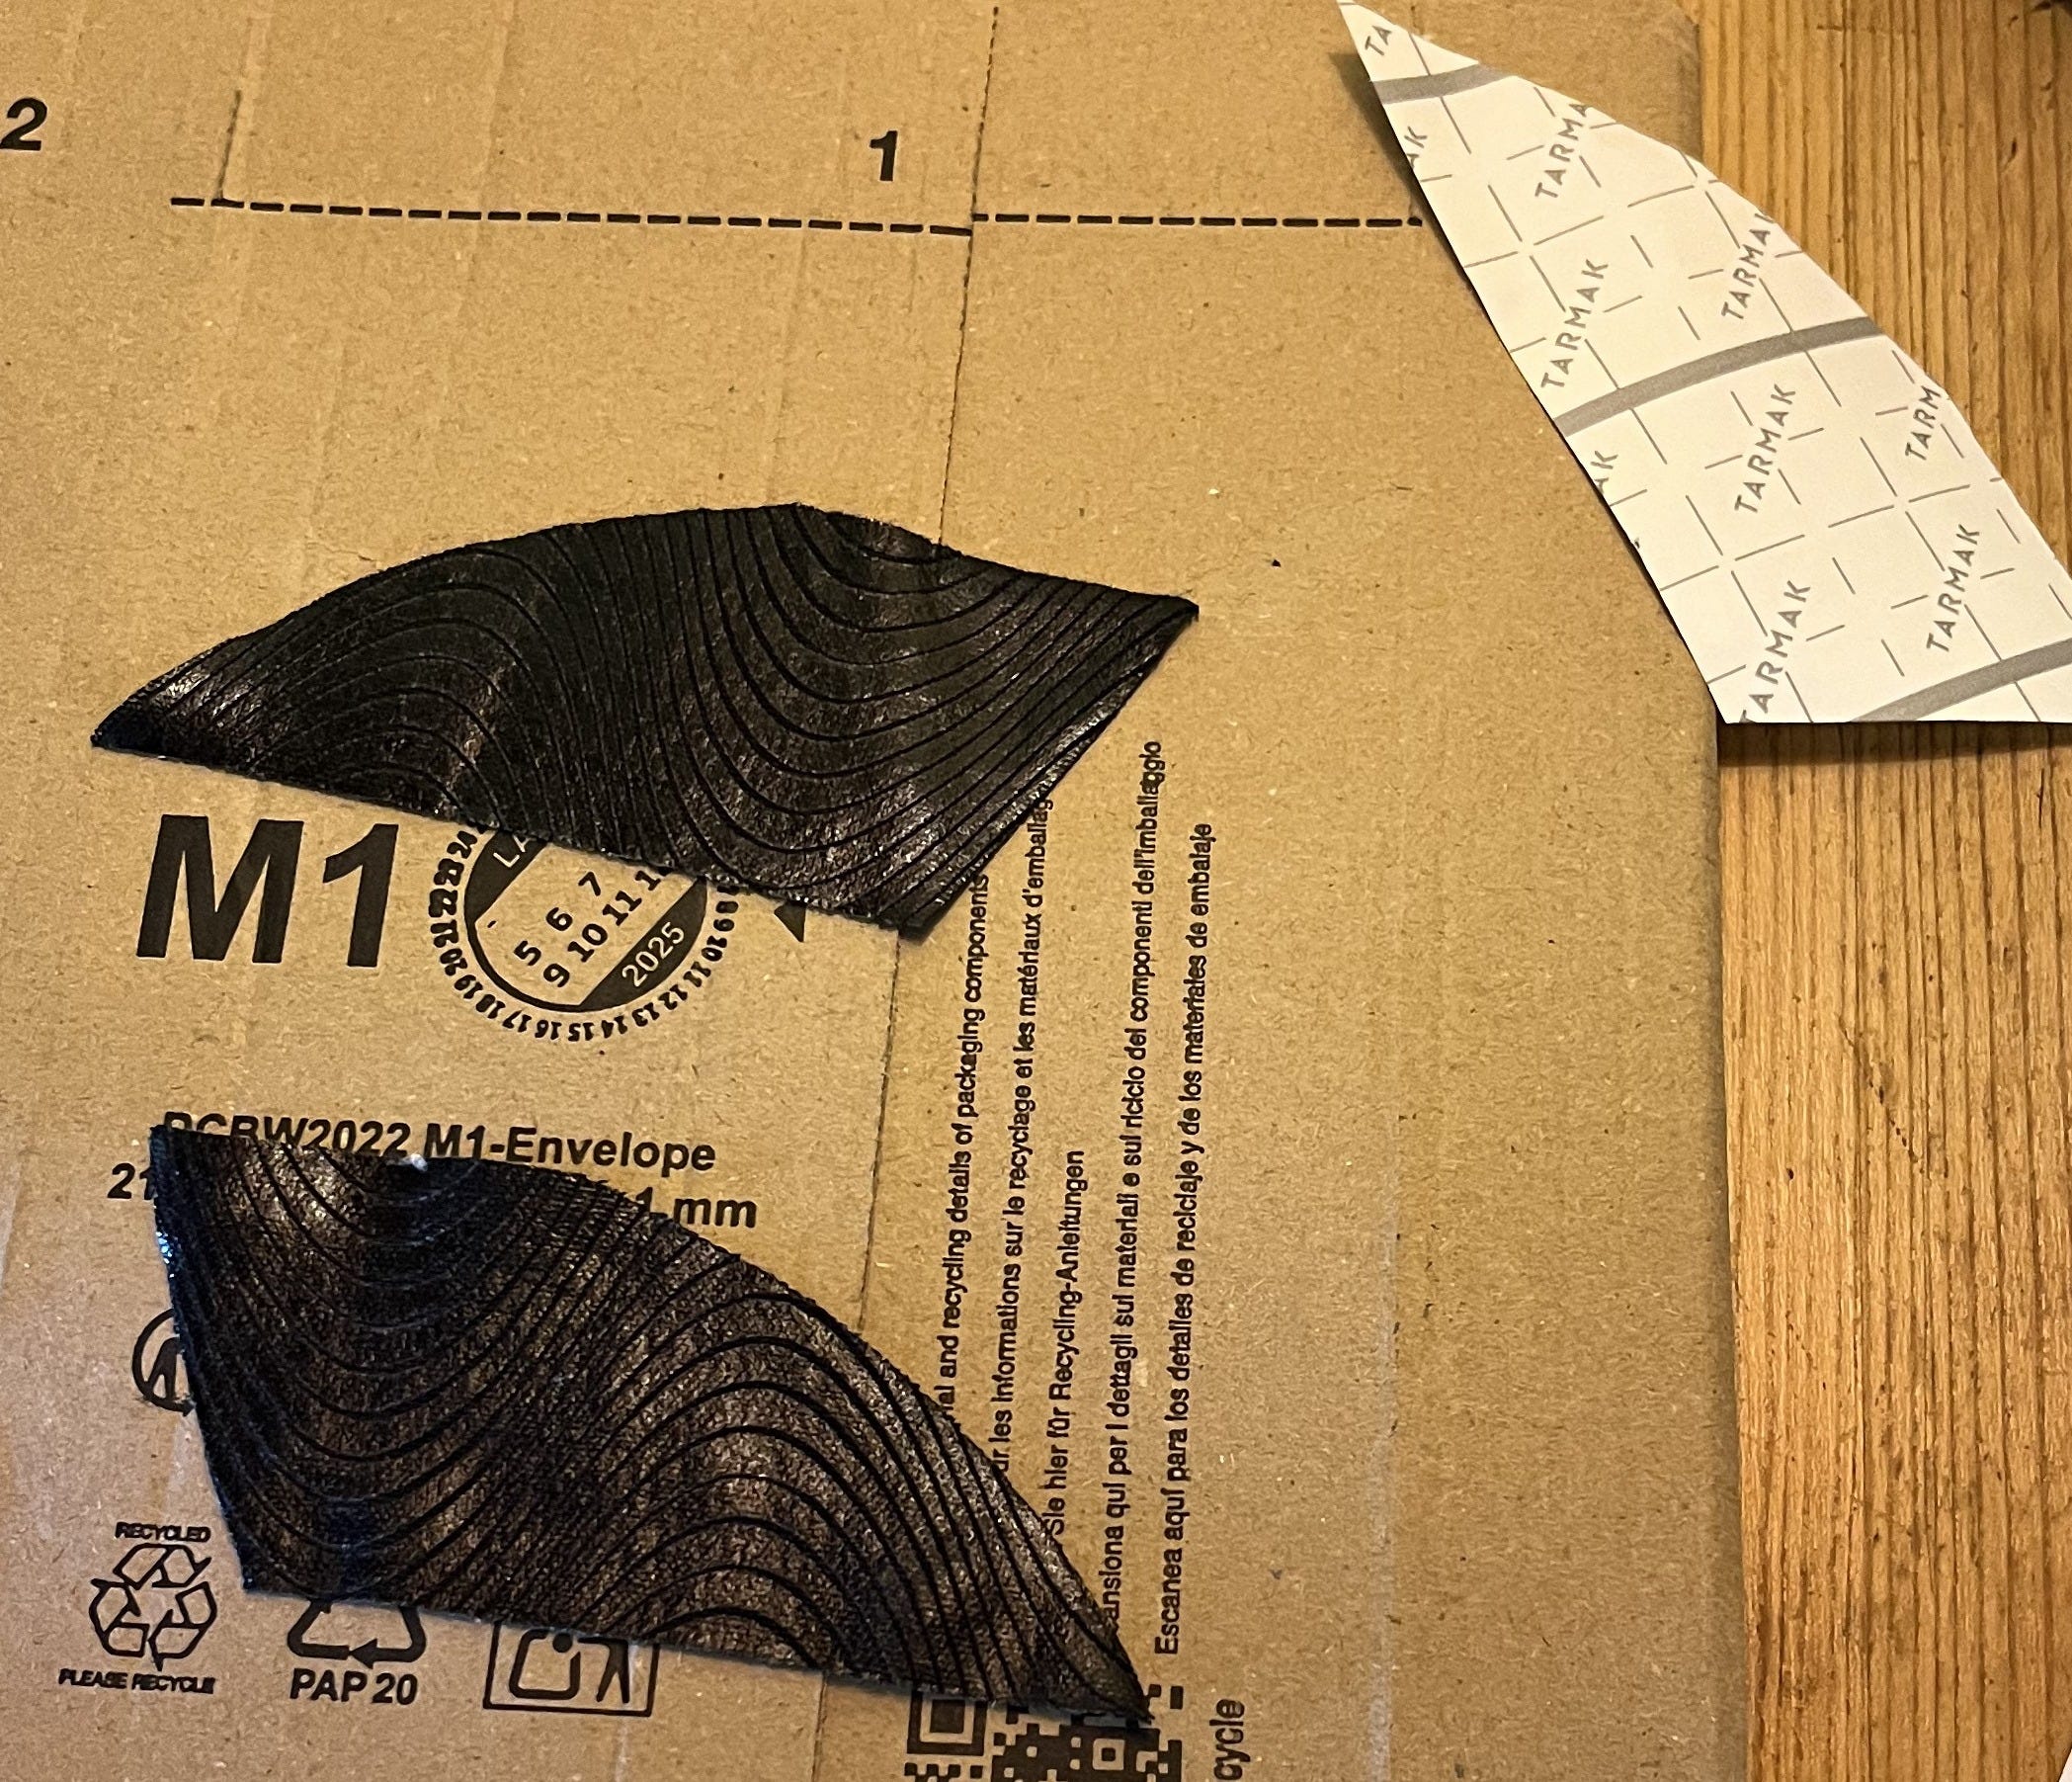
Make your patches by cutting the K-tape into the size and shape you want. Make sure it goes at least 1 cm past the hole or stitching. This is the fun part! I chose black (boring) but you can get brighter K-tape and make lovely patchwork shoes!
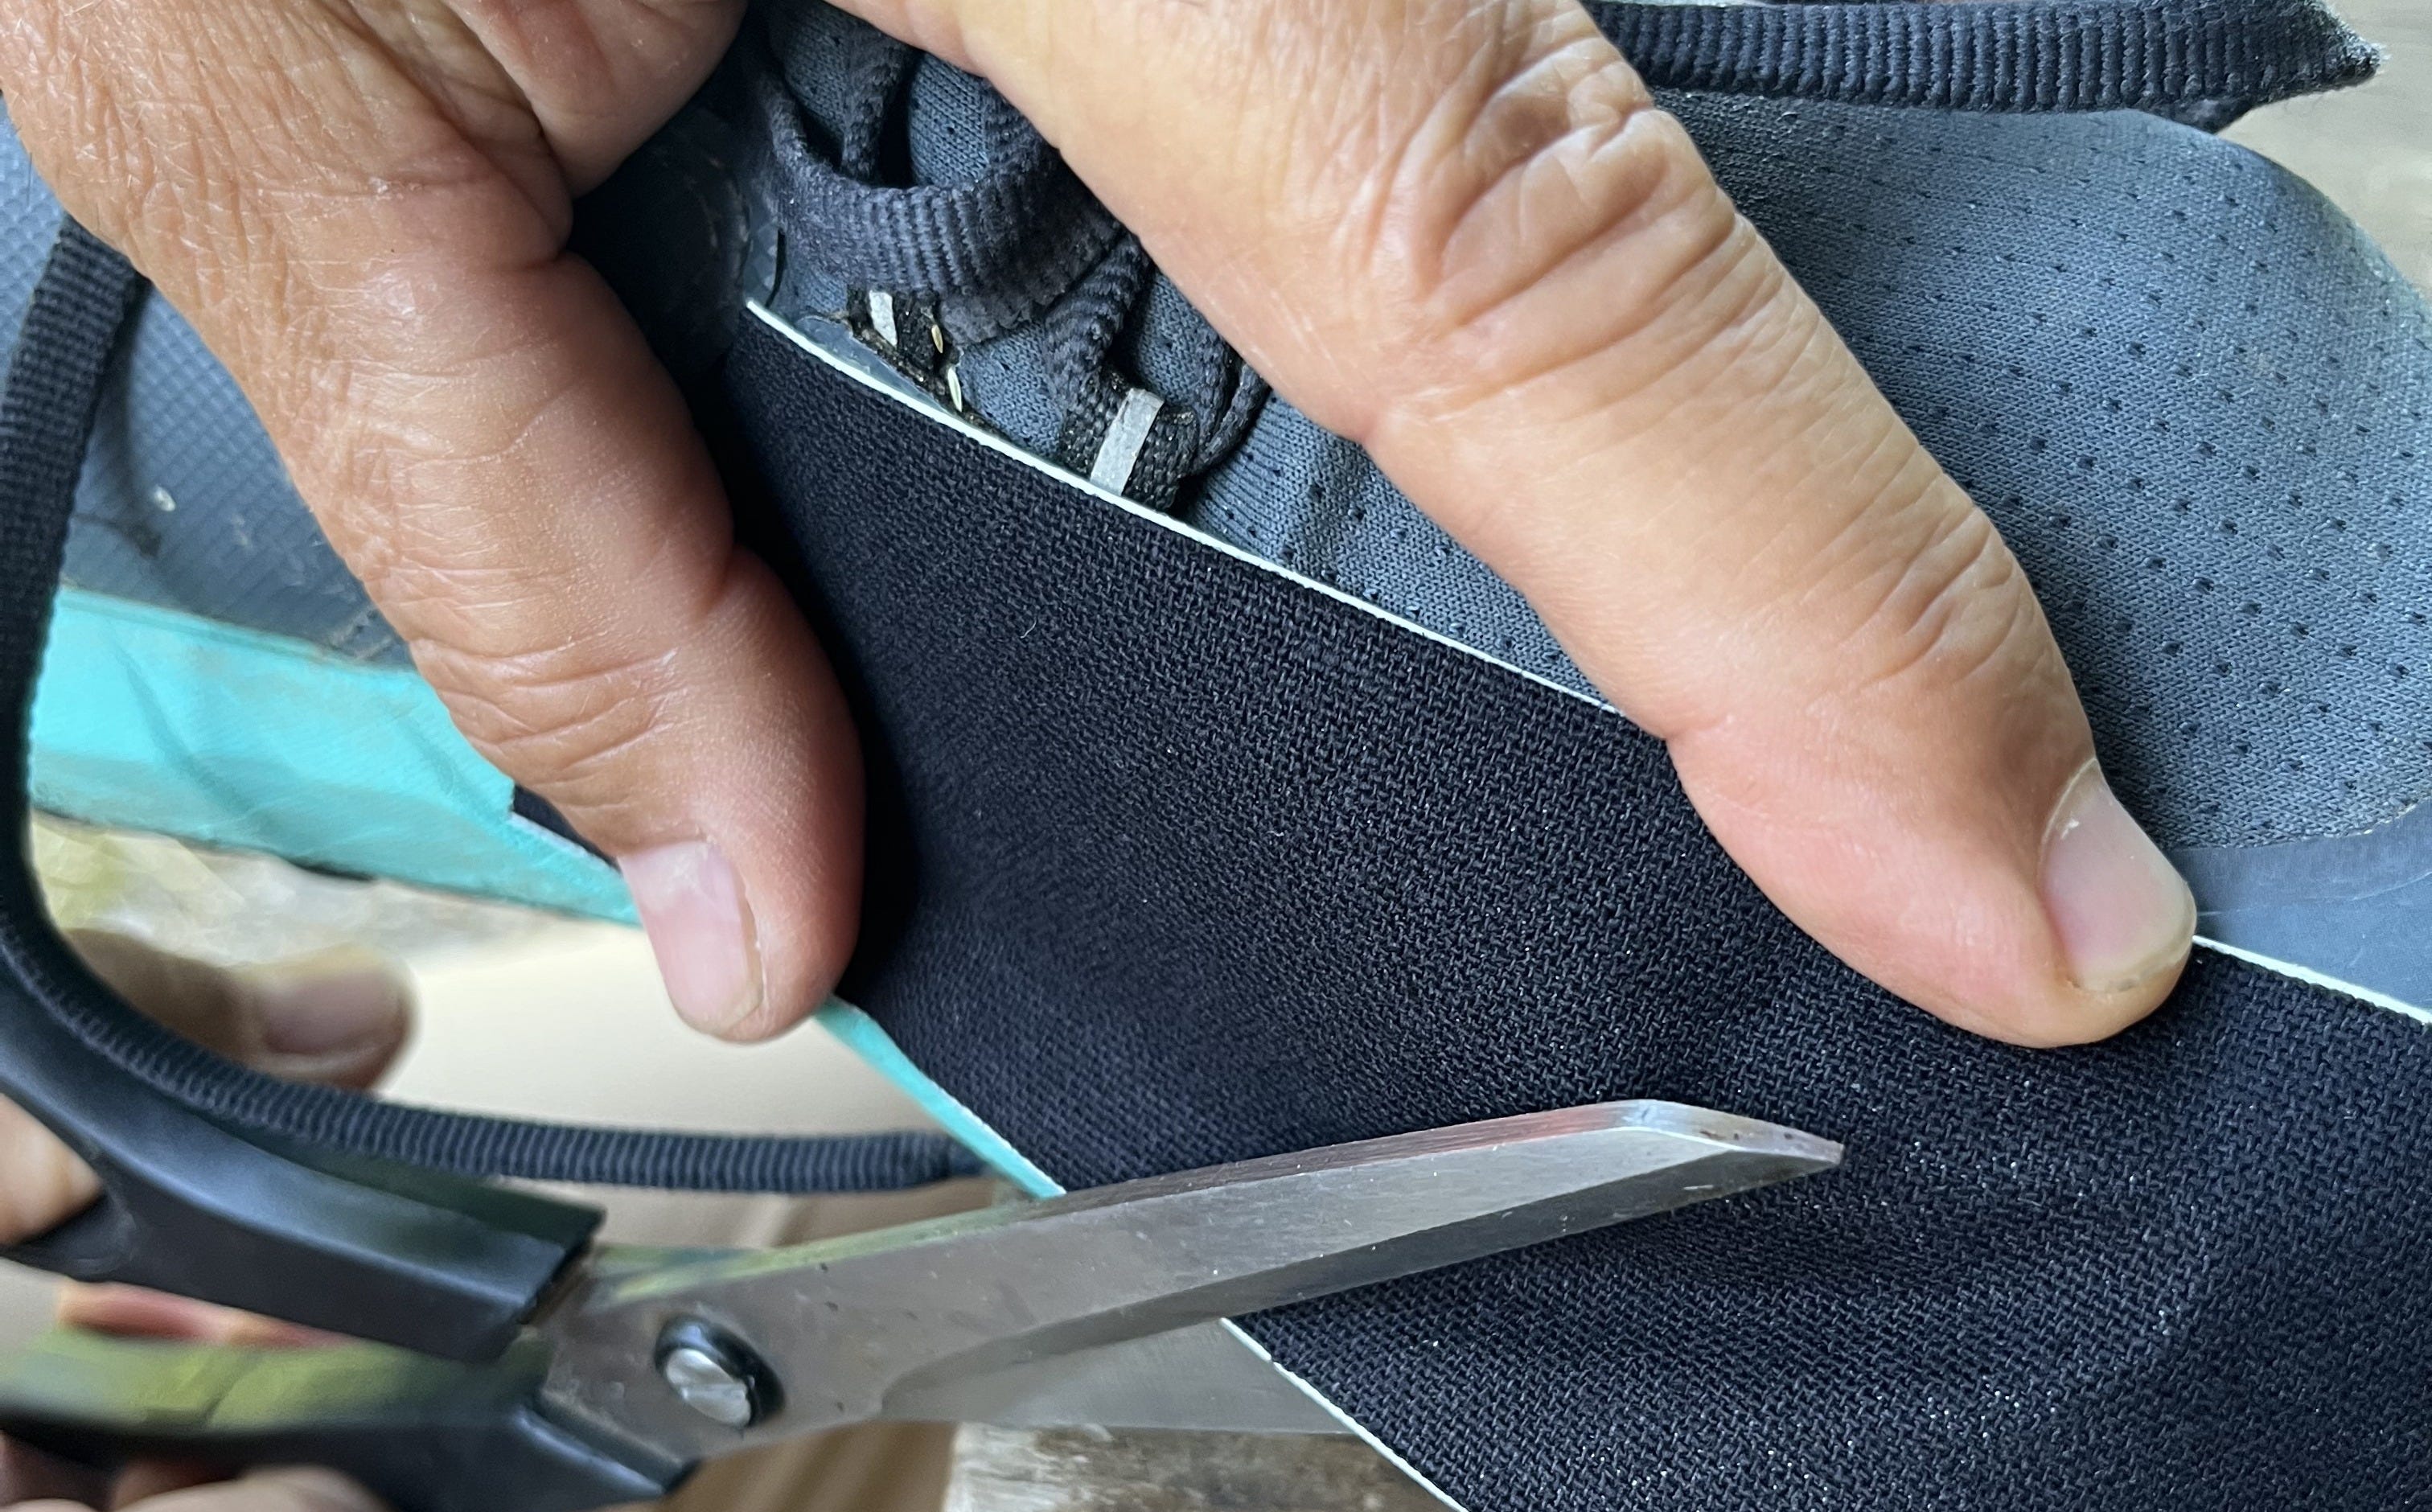

We decided on two pieces the same shape to cover any future holes. The right shoe was way worse than the left but these are old shoes so they need protection!
STEP FOUR
Now the fun begins! You know K-tape is sticky right? Sometimes hellishly sticky when you’re trying to attach it to your knee and it just wants to attach to itself. So what you have to do is take the backing off the tape and make it lie flat, sticky side up. This takes patience and a sense of humor.
Then things get really sticky because you’re going to spread some contact cement onto the sticky side of the tape. It needs to cover the whole of the sticky area, so you’ll need to push it around with something (finger good but leaves glue). Then you let them sit for ten minutes.
While you’re waiting, you’ll be spreading more contact cement glue onto the area of the shoes where you want to stick the patch. After ten minutes, gently but firmly take your patch and apply it to the shoe. You can also buy a scraper to make sure it is firmly attached, but I just rubbed it around a lot and made sure there were no wrinkles.
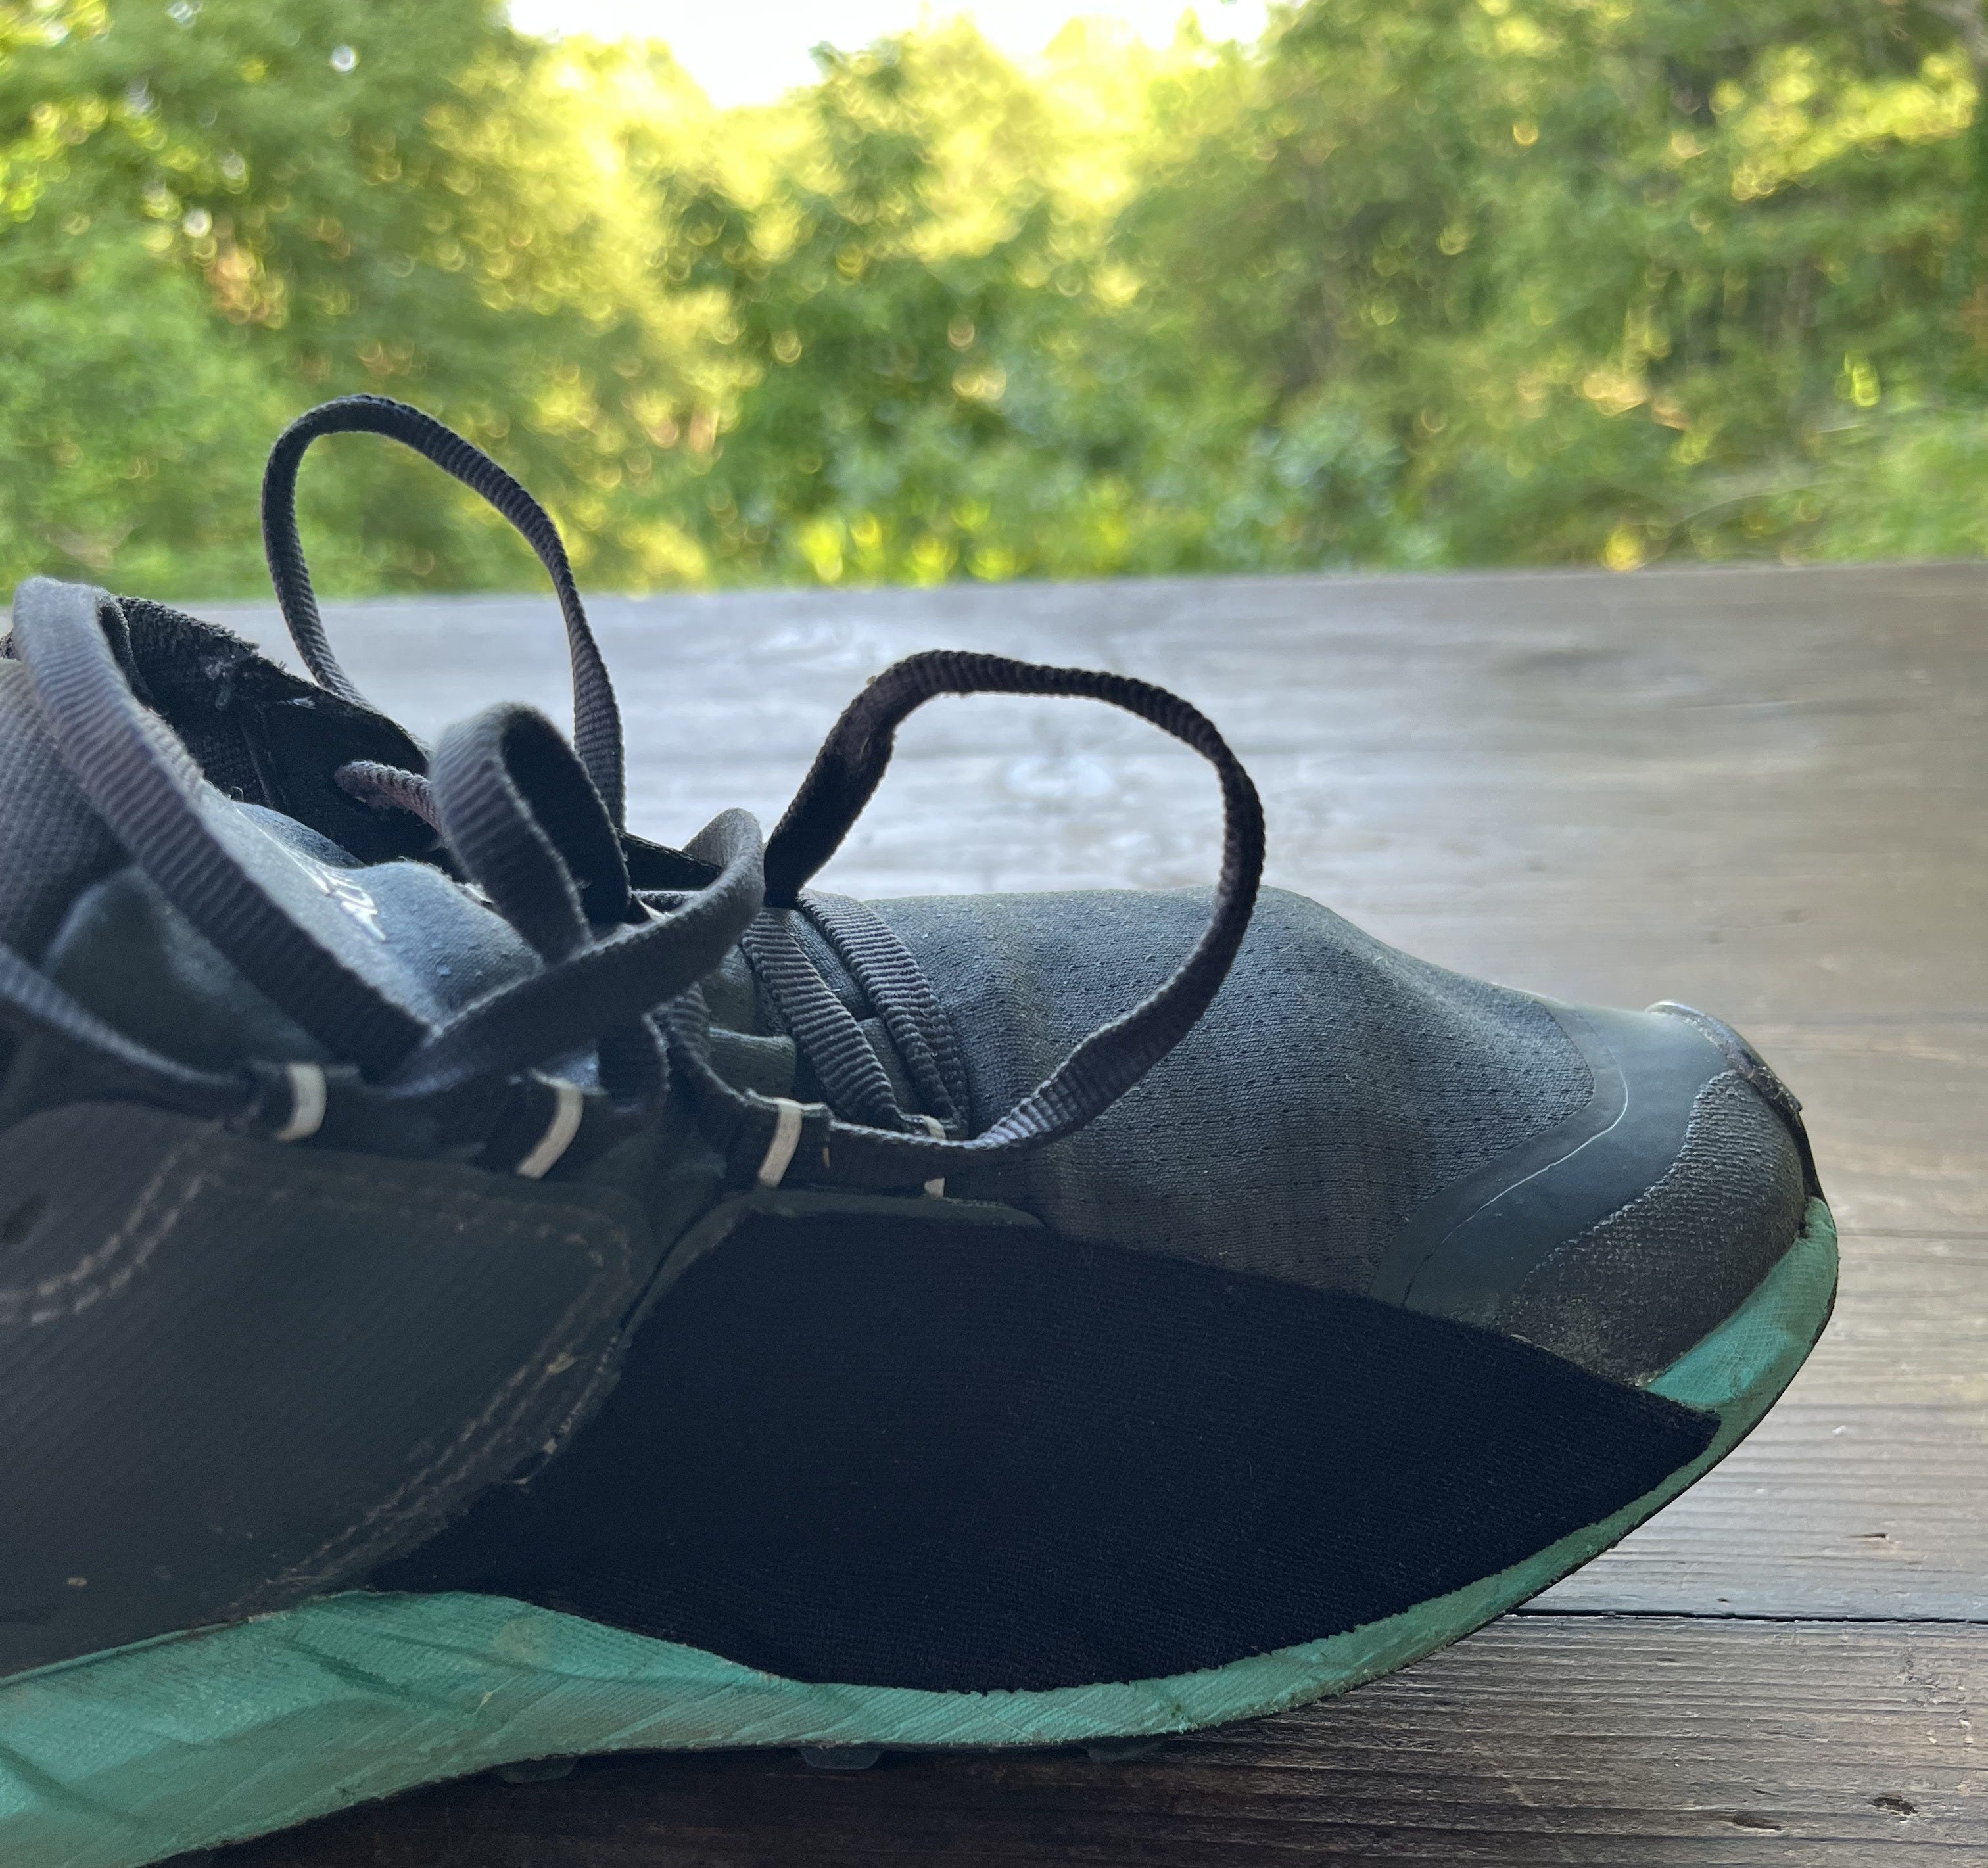
Et voila!
STEP FIVE
Take out the stuffing. You need to wait overnight for the glue to set. Put on your new shoes and get out there!
*postscript I took these repaired shoes on a very technical 25 k trail run yesterday, which included having to cover them with some kind of swine flu powder … rocks, mud, roots, you name it (no ice). Tape is holding well, all good. Now on to my next pair!